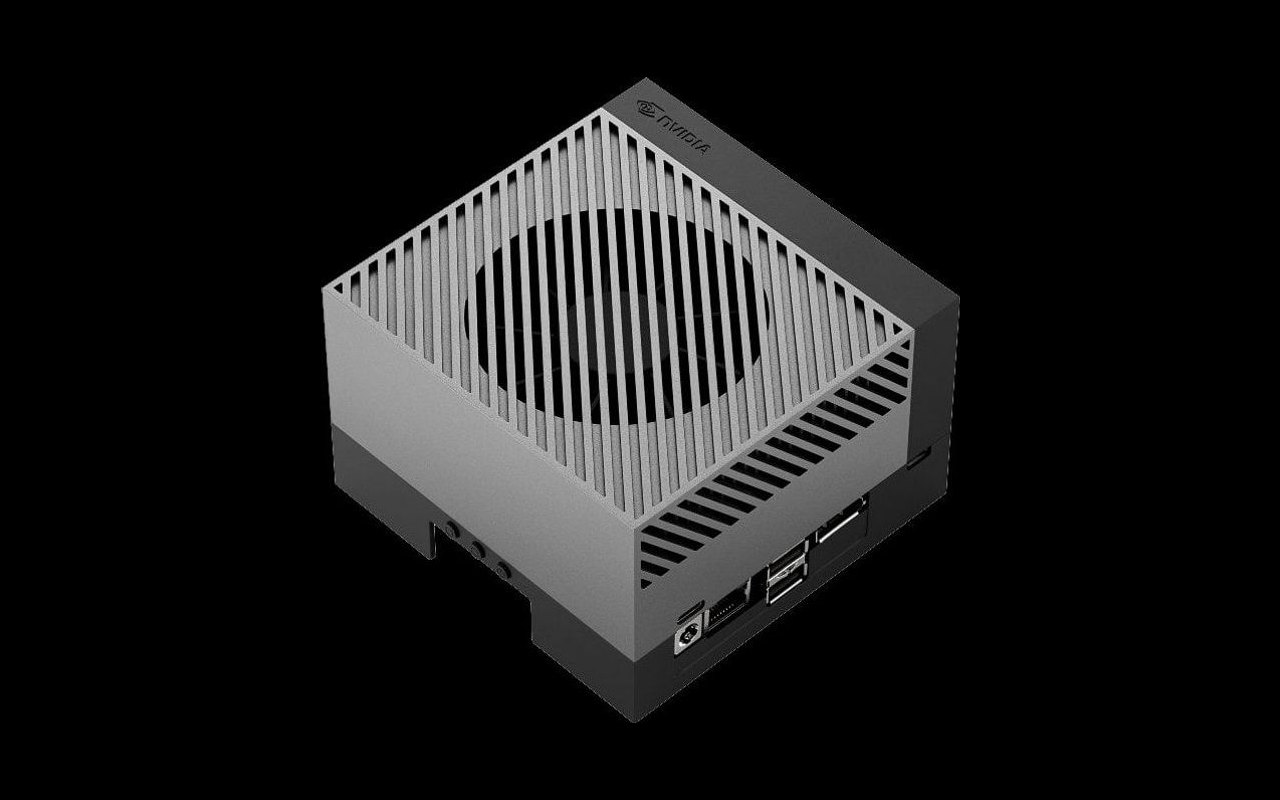
The Jetson Orin platform is remarkably reliable, but boot issues during initial setup or after system updates can be frustrating. This guide covers the five most common boot problems reported by Jetson Orin developers, and how to fix each one.
Issue 1: Stuck on NVIDIA Logo (No Desktop)
Symptoms: The NVIDIA logo appears on screen but the system never reaches the Ubuntu desktop. The logo may stay indefinitely or the screen may go black after the logo.
Common causes:
- Corrupted filesystem on the boot media
- Incomplete JetPack flash
- Incompatible display configuration
Solutions:
- Wait longer: The first boot after a fresh flash can take 3-5 minutes. Be patient.
- Try a different display/cable: Some DisplayPort to HDMI adapters cause issues. Use a native DisplayPort connection if possible.
- Re-flash the system: The most reliable fix. Use the NVIDIA SDK Manager on a host Ubuntu PC to re-flash the Jetson module. Select "Clean install" to start fresh.
- Check the serial console: Connect a USB cable to the debug micro-USB port and open a serial terminal (115200 baud) to see boot messages. This reveals the exact point of failure.
Issue 2: Black Screen After Flash
Symptoms: After flashing with SDK Manager, the display shows nothing, not even the NVIDIA logo.
Solutions:
- Check the display connection: Ensure you're using the correct display port (DisplayPort on Orin Nano Developer Kit, HDMI or DP on AGX Orin Developer Kit).
- Verify the flash completed: In SDK Manager, check that all components show "Installed" with no errors.
- Force recovery mode: Hold the Force Recovery button while pressing Reset. Connect to the host PC via USB-C. SDK Manager should detect the Jetson in recovery mode for re-flashing.
- Power supply check: Ensure you're using the included power supply. Third-party adapters with insufficient amperage can cause silent boot failures.
Issue 3: "No Space Left on Device" During Setup
Symptoms: The system boots but fails during initial setup or package installation with "No space left on device" errors.
Common causes:
- microSD card too small (Orin Nano Developer Kit)
- The root partition wasn't expanded after flash
Solutions:
- Use a larger microSD card: 64GB minimum, 128GB+ recommended for development work with AI frameworks.
- Move to NVMe storage: Install an M.2 NVMe SSD and clone the system to it. NVMe provides both more space and dramatically better I/O performance.
- Expand the partition: If your storage is large enough but the partition is small, use
sudo resize2fs /dev/mmcblk0p1(microSD) or the appropriate NVMe partition.
Issue 4: Wi-Fi/Bluetooth Not Working
Symptoms: No Wi-Fi networks visible, Bluetooth not detecting devices, or intermittent wireless connectivity.
Solutions:
- Install the M.2 wireless module: Jetson developer kits ship with an M.2 Key E slot but may not include a Wi-Fi module. You need to purchase and install a compatible module (Intel AX210 is widely recommended).
- Attach the antennas: If you installed a wireless module, ensure the antenna cables are connected to the correct U.FL connectors on the module.
- Update firmware: After installing the module, run
sudo apt update && sudo apt upgradeto get the latest wireless firmware. - Check regulatory domain: Set your wireless regulatory domain with
sudo iw reg set US(replace US with your country code) to unlock available channels.
Issue 5: CUDA or GPU Not Detected
Symptoms: nvidia-smi returns an error, CUDA programs fail with "no CUDA-capable device detected," or nvcc is not found.
Solutions:
- Verify JetPack installation: Run
cat /etc/nv_tegra_release, if this file doesn't exist, JetPack wasn't properly installed. Re-flash with SDK Manager. - Check the CUDA path: Add CUDA to your PATH if
nvccisn't found:
Add these lines toexport PATH=/usr/local/cuda/bin:$PATH export LD_LIBRARY_PATH=/usr/local/cuda/lib64:$LD_LIBRARY_PATH~/.bashrcto make them permanent. - Install CUDA samples to verify:
This should display your Jetson's GPU information. If it fails, the issue is with the CUDA installation.cd /usr/local/cuda/samples/1_Utilities/deviceQuery sudo make ./deviceQuery - Power mode check: Some GPU features are disabled in low-power modes. Run
sudo nvpmodel -m 0to set maximum performance mode andsudo jetson_clocksto lock clocks at maximum.
General Debugging Tips
- Serial console is your best friend: When the display isn't working, the serial console (micro-USB debug port, 115200 baud) always shows boot messages.
- Check
dmesg: After boot,dmesg | tail -100shows the most recent kernel messages, often revealing the root cause of hardware issues. - NVIDIA Developer Forums: The Jetson forums at forums.developer.nvidia.com have an active community and NVIDIA engineers who respond to posts.
- JetPack version compatibility: Always match your JetPack version to your Jetson module. Not all JetPack versions support all modules.
Still stuck? Contact us for Jetson technical support, development guidance, and production troubleshooting assistance.